Deploy 360
Create a project
Go to Deploy 360 → Projects and select New project. The wizard has eight steps. The Project summary on the right keeps track of your choices, and you can go back to any step you've already completed from the list on the left.
You can explore every step freely. Your project is only saved, and your server only created, when you select Pay and deploy on the last step and payment succeeds.
1. Repository
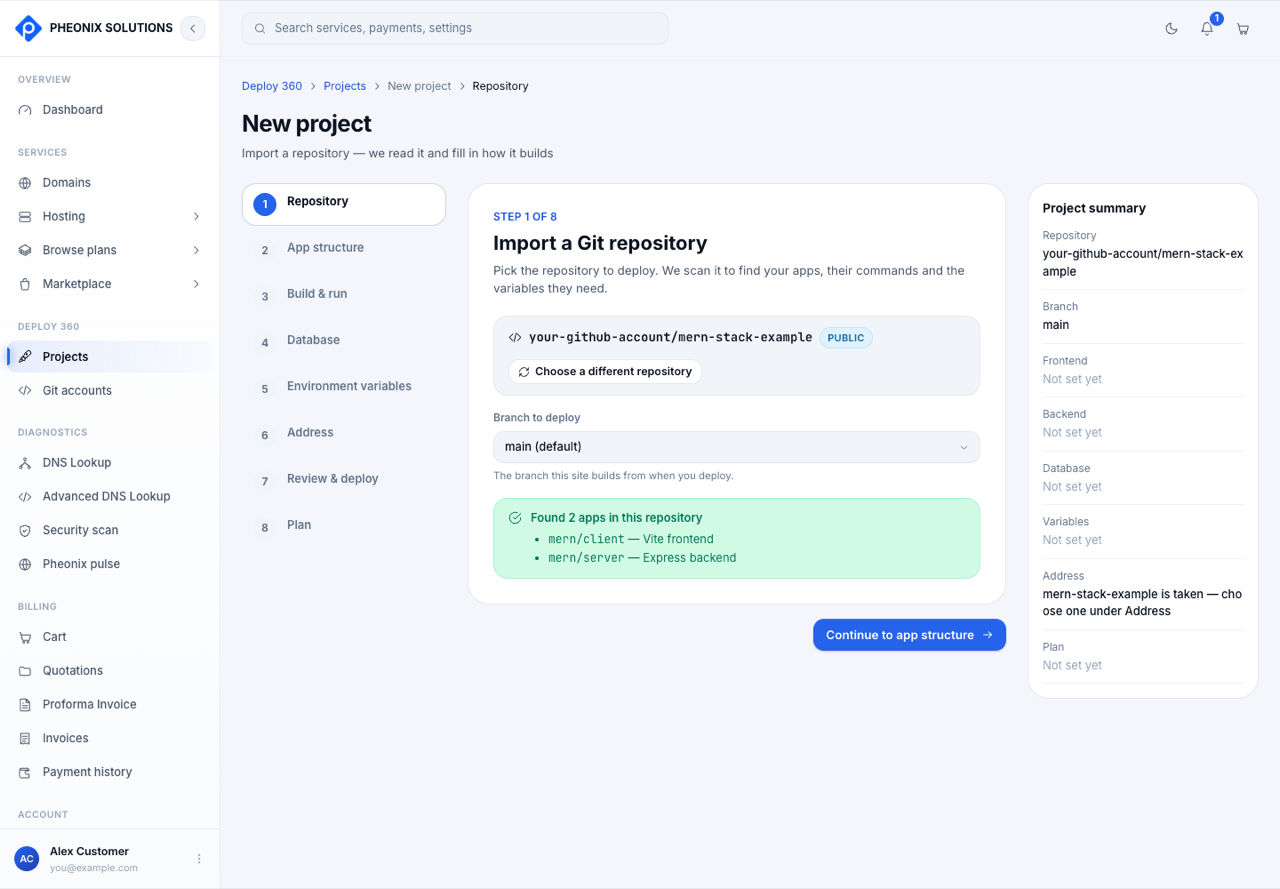
- If you've linked more than one Git account, choose one under Git account.
- Search for the repository and select it.
- Check Branch to deploy. It defaults to the repository's default branch.
We scan the repository straight away. The scan finds your apps, their frameworks, and the variables listed in any .env.example file. Changing the branch scans again.
No Git account yet? Select Link a Git account. See Connect a Git account. Setting up before your code is ready? Choose Create an empty project. You can link a repository later from the project's settings.
2. App structure
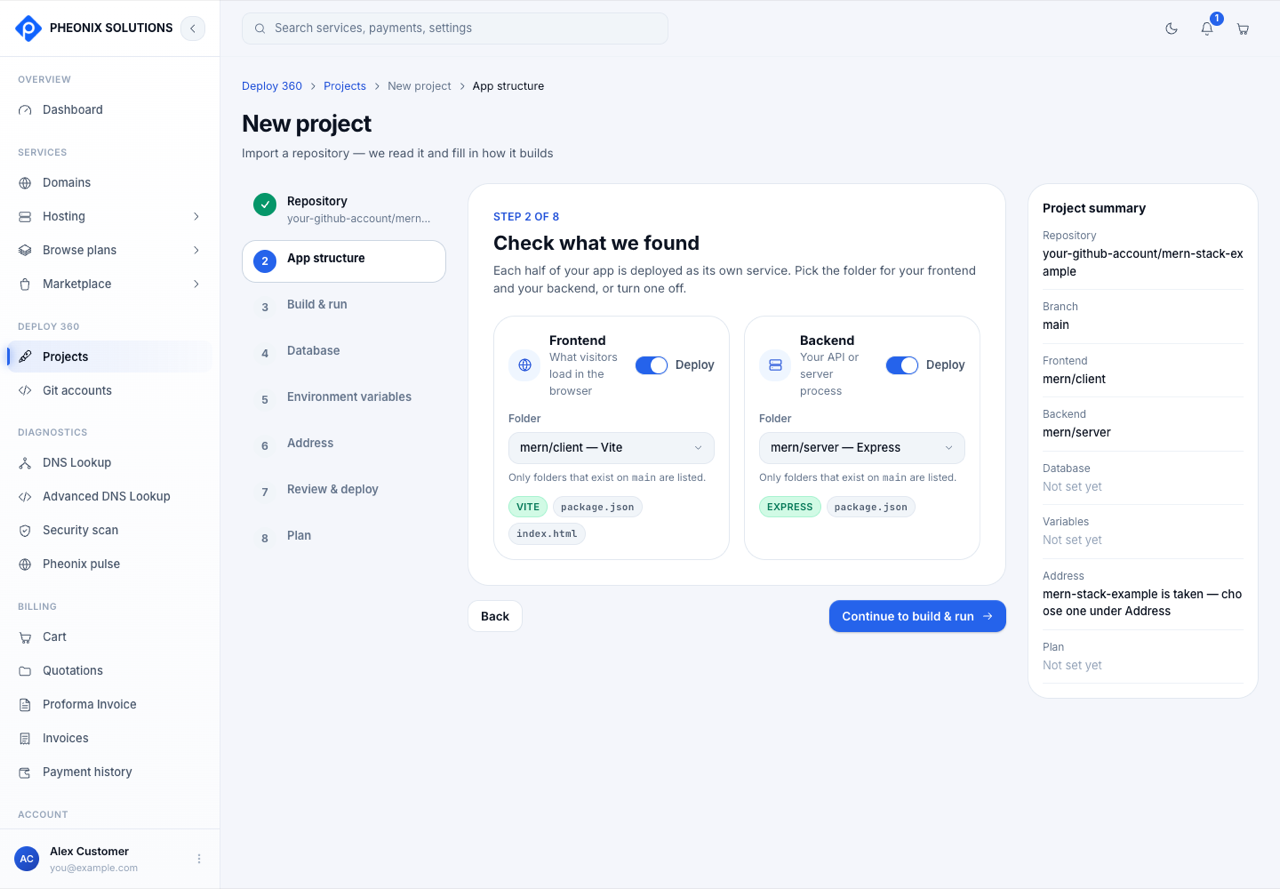
Choose what to deploy:
- Frontend: what visitors load in the browser.
- Backend: your API or server process.
Turn each one on or off with Deploy, and pick the Folder it lives in. Folders are labelled with the framework we found, for example mern/client — Vite. You need at least one of the two. A part you turn off can be turned on later in the environment's settings.
3. Build & run
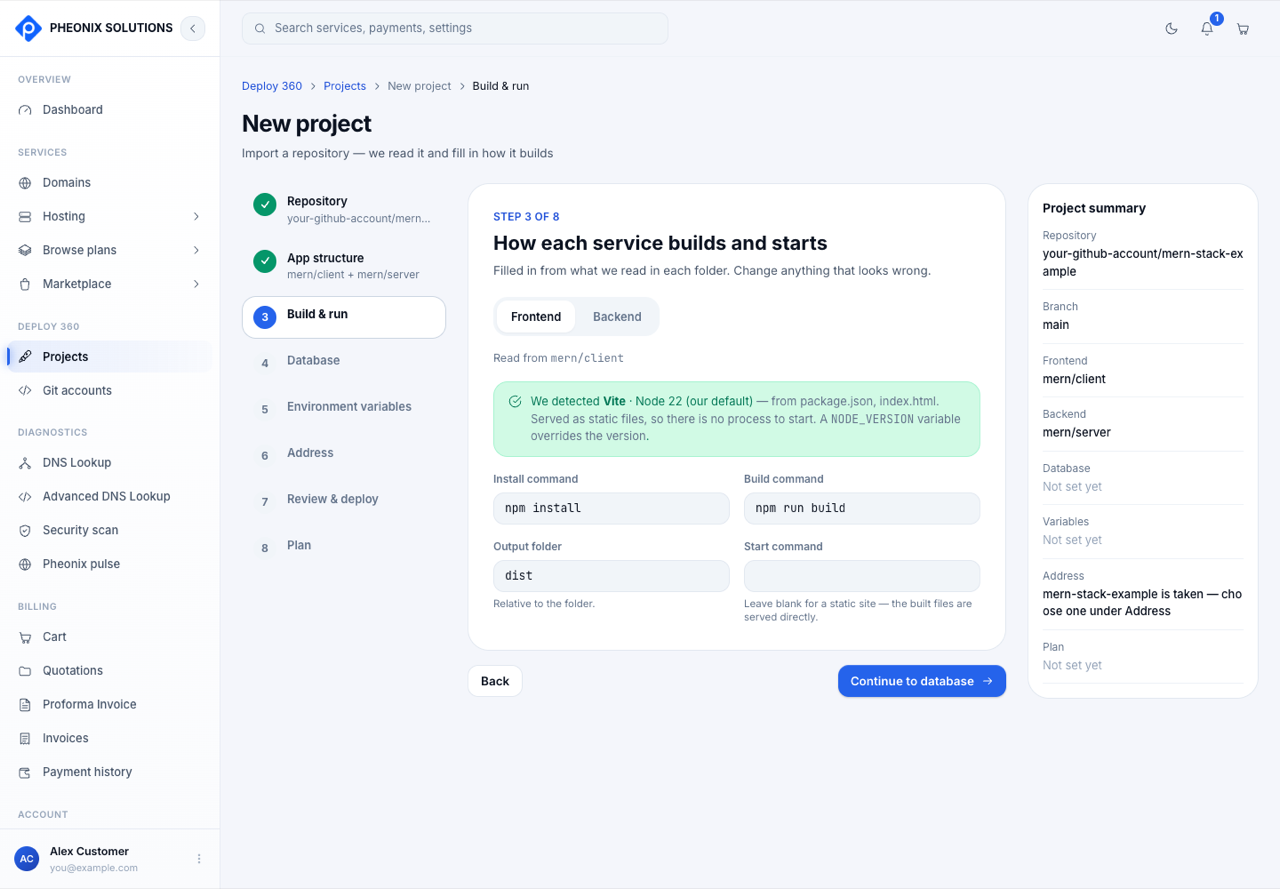
The commands are filled in from the scan. Check them on the Frontend and Backend tabs.
| Field | What it means |
|---|---|
| Build with | Shown if the folder has a Dockerfile. Choose The commands below, or Your repository's Dockerfile. |
| Install command | For example npm ci |
| Build command | For example npm run build |
| Output folder | Where the build writes its files, for example dist |
| Start command | For example npm start. For a frontend, leave it blank for a static site; the built files are served directly. |
| Port | The port your app listens on (1–65535). The frontend and backend can't use the same port. |
| Health check path | Optional, for a backend, for example /health. We call it to confirm a new version is working before it goes live. |
4. Database
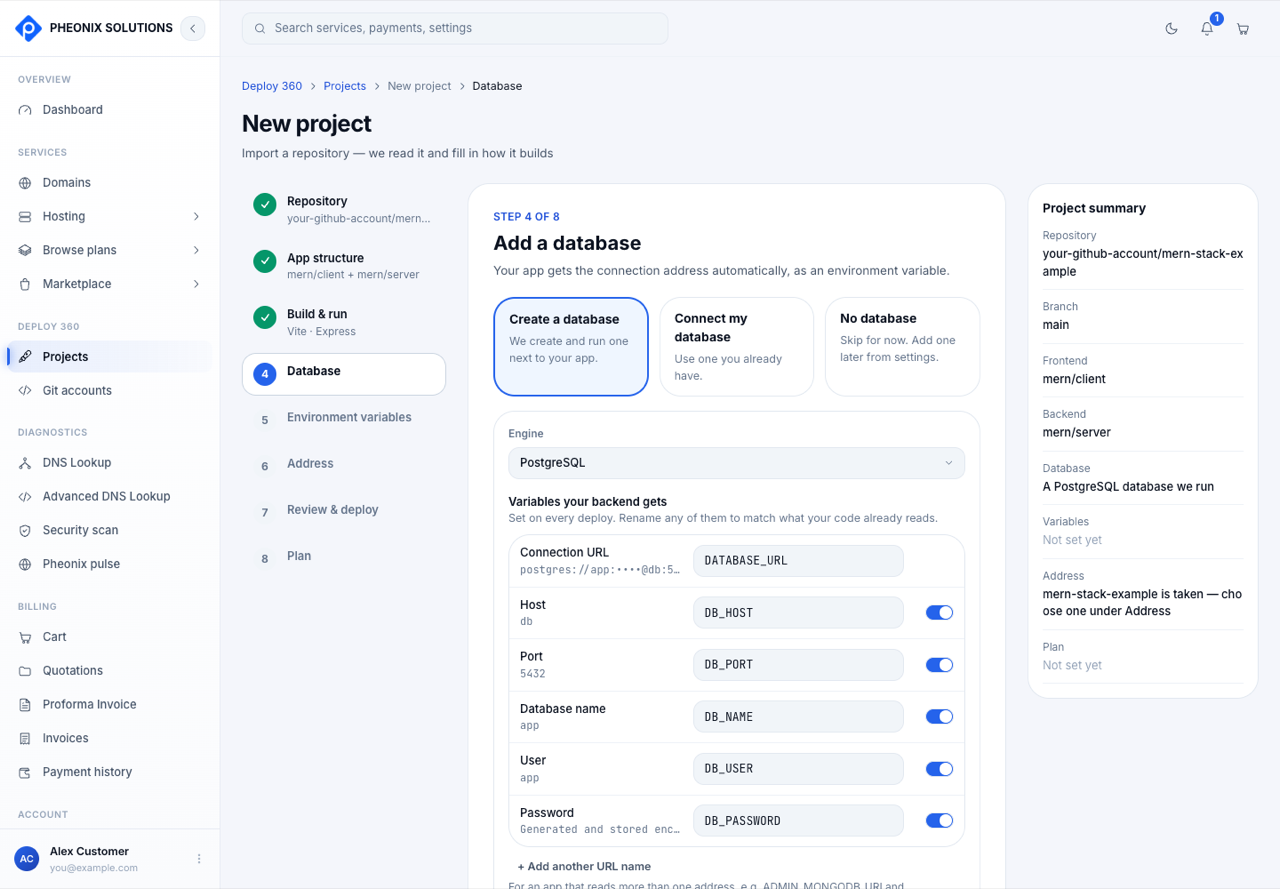
Choose Create a database, Connect my database or No database. Your backend gets the connection details automatically as environment variables. See Databases for the details.
5. Environment variables
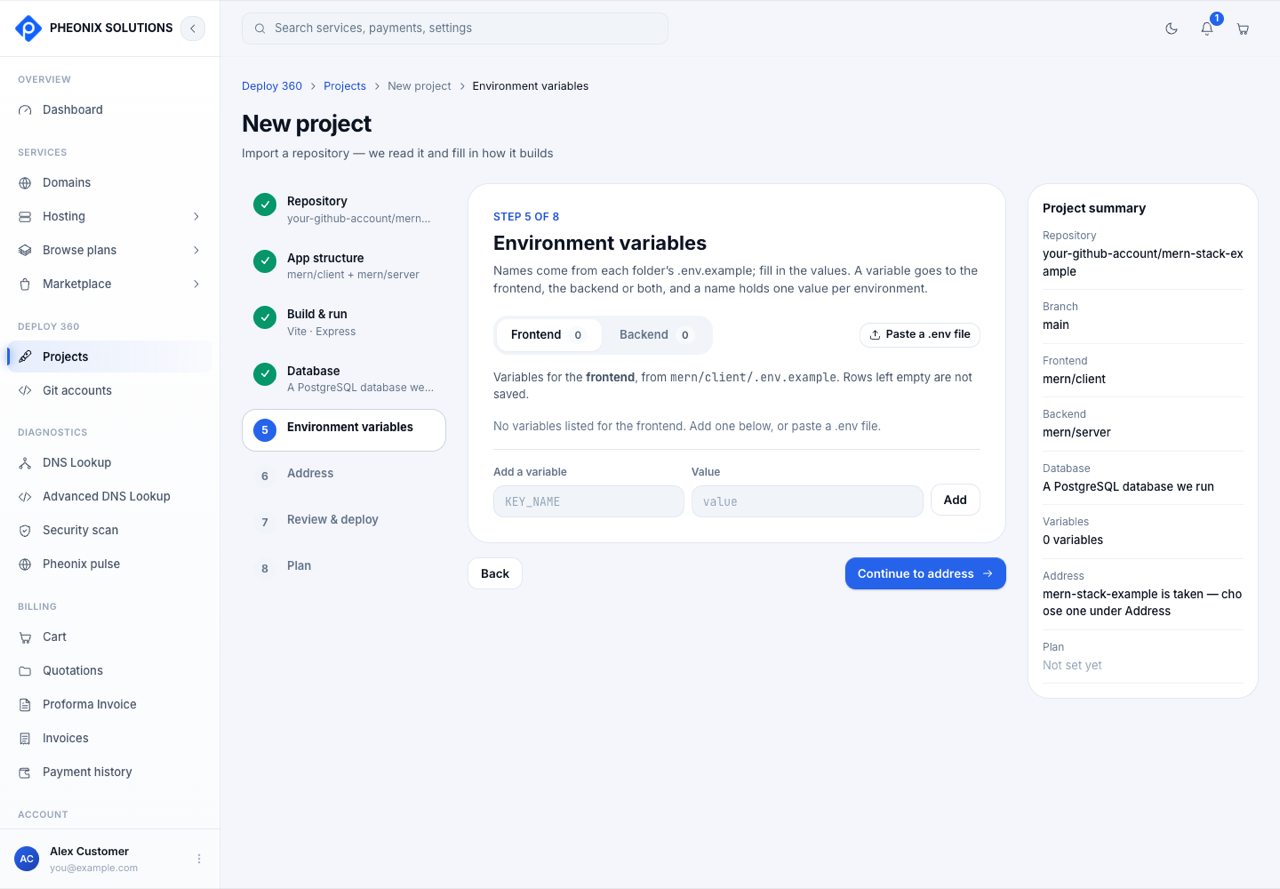
Variables from your .env.example files are already listed. Fill in their values.
- Paste a .env file adds many variables at once.
- Generate creates a random secret value for names ending in
SECRET. - Names starting with
VITE_,NEXT_PUBLIC_orREACT_APP_are marked Visible in browser. Never put passwords in them. - Some values are suggested for you. For example, the frontend's API URL is set to your backend's address.
Every variable except browser-visible ones is saved as a secret: once saved, its value can't be shown again, only replaced. Empty variables aren't saved.
6. Address
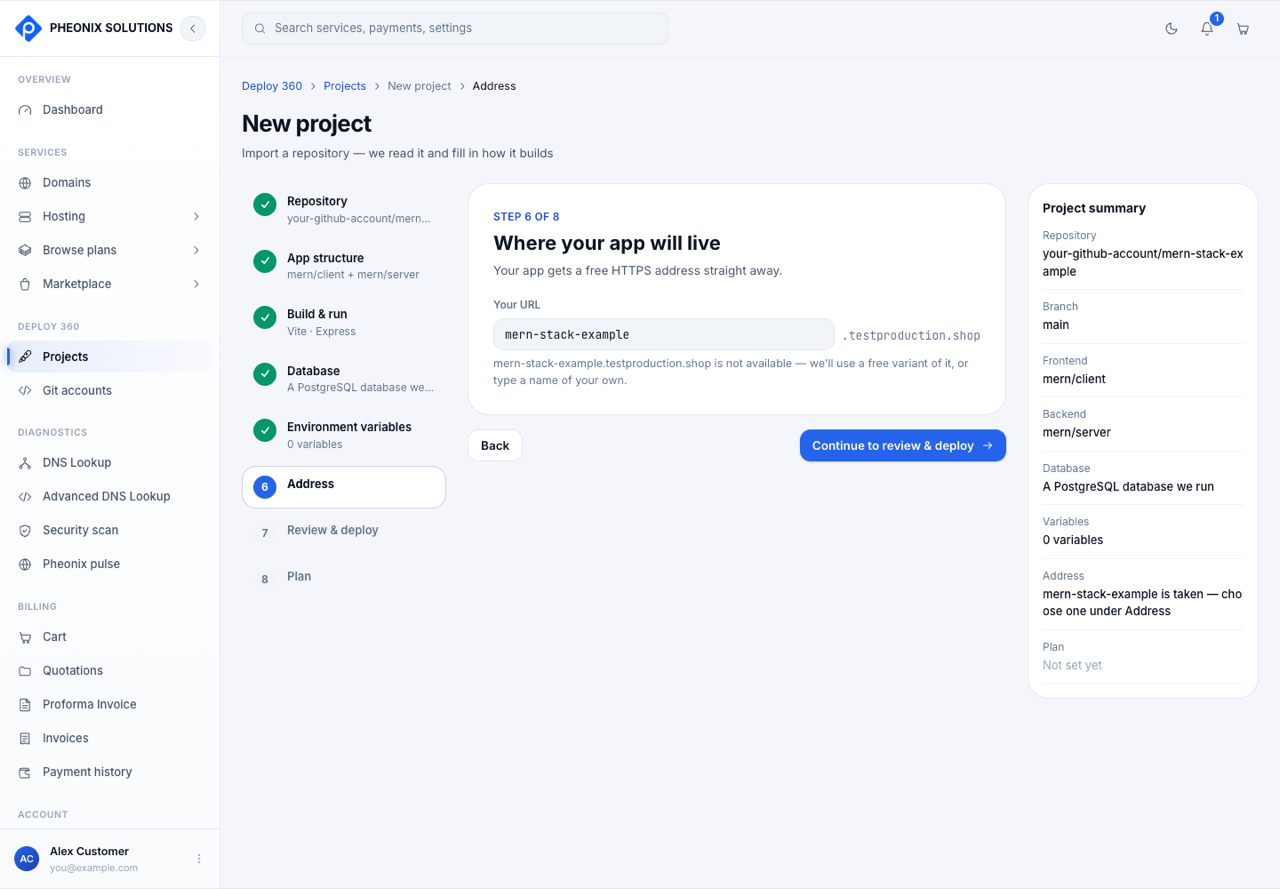
Choose the name for your free HTTPS address. We check availability as you type.
- 3–50 characters: lowercase letters, numbers and hyphens.
- Some names are reserved, such as
www,api,adminand names starting withpheonix.
The address can't be changed after the site is created yet.
7. Review & deploy
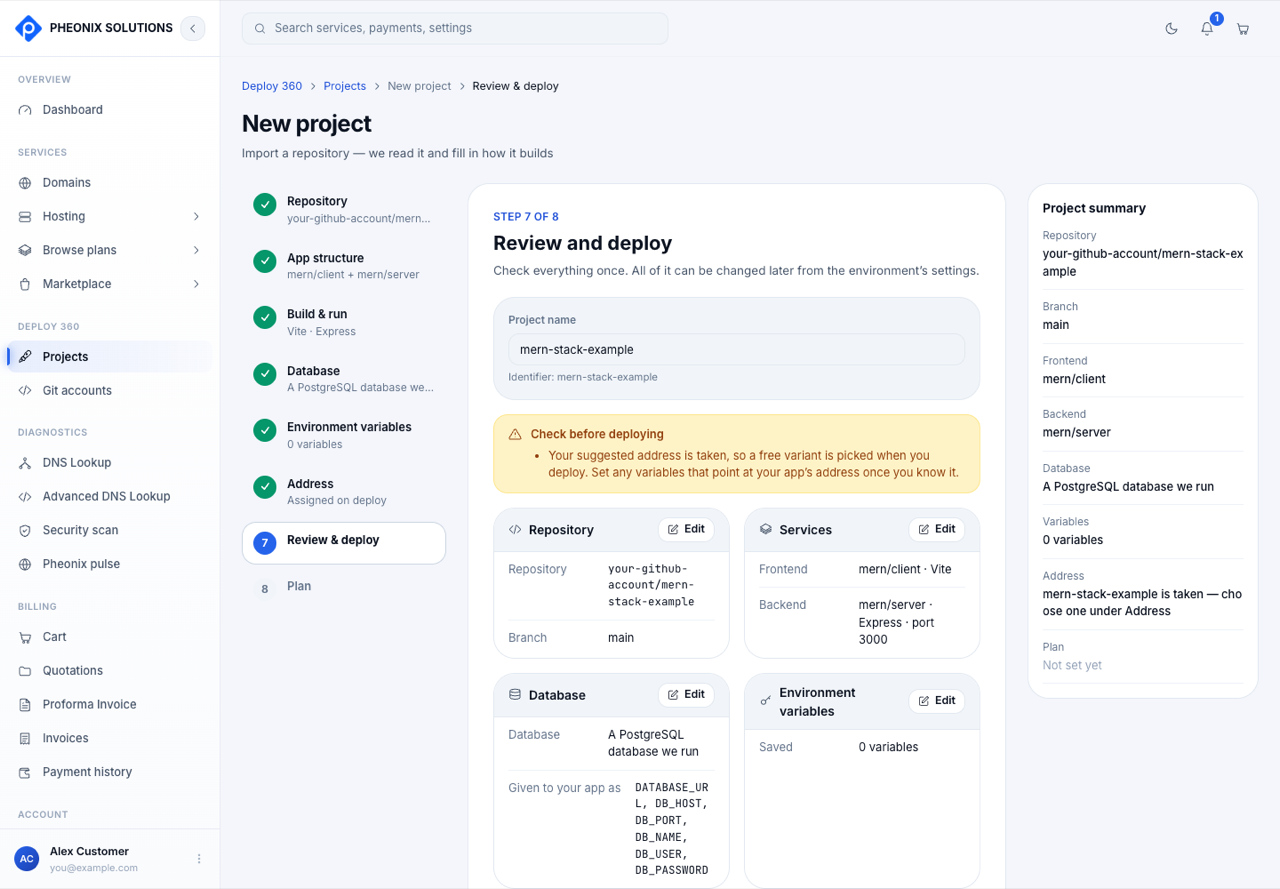
Give the project a Project name, then check each card. Select Edit to go back to any step. Check before deploying warns you about likely problems, for example empty variables, or a DATABASE_URL in .env.example with no database connected. Select Continue to plan.
8. Plan
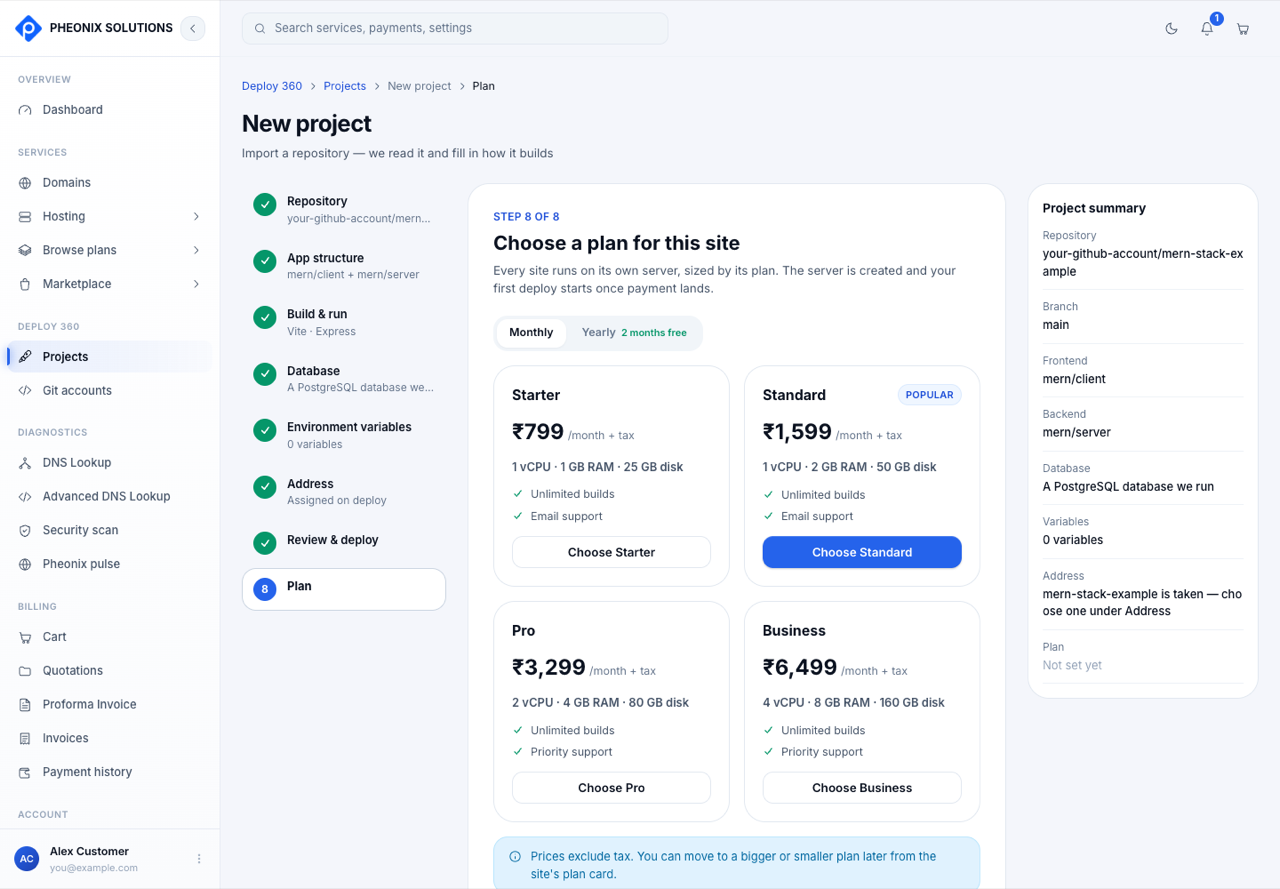
Choose Monthly or Yearly and a plan, then select Pay and deploy. See plans.
After you pay:
- The site's server is created.
- The first deployment starts. It takes about 3–5 minutes.
- You land on the Deployments tab, where you can follow the build log live.
If you close the payment window, the project is saved. Open it from Projects and choose a plan to deploy it.